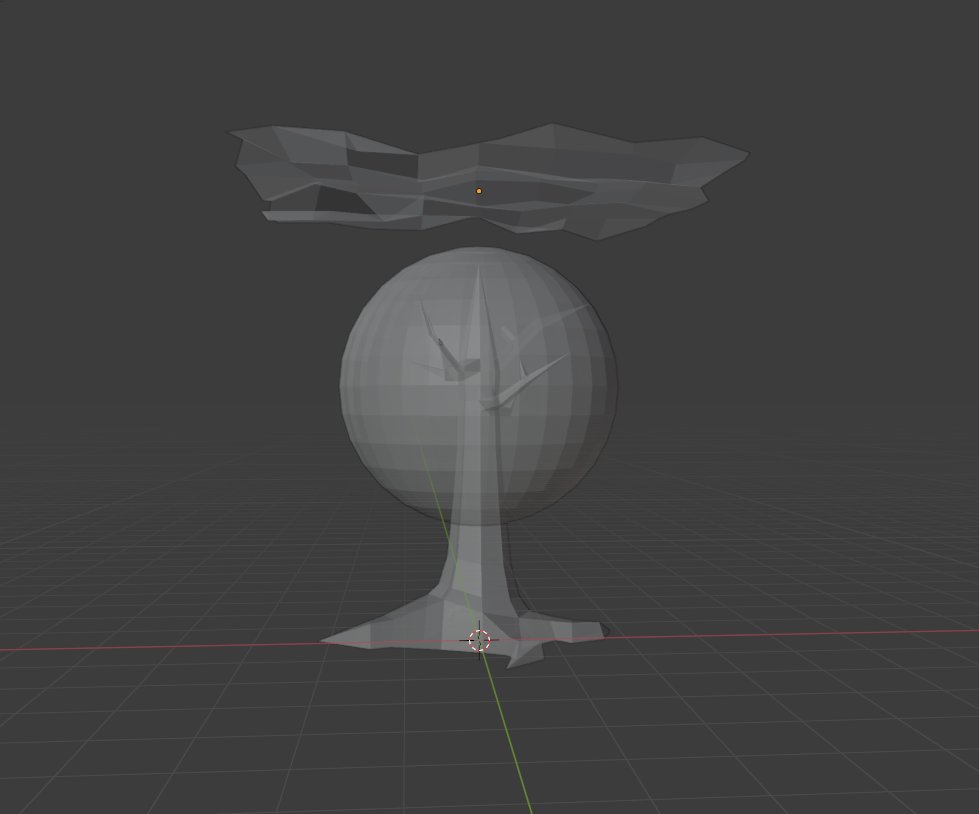
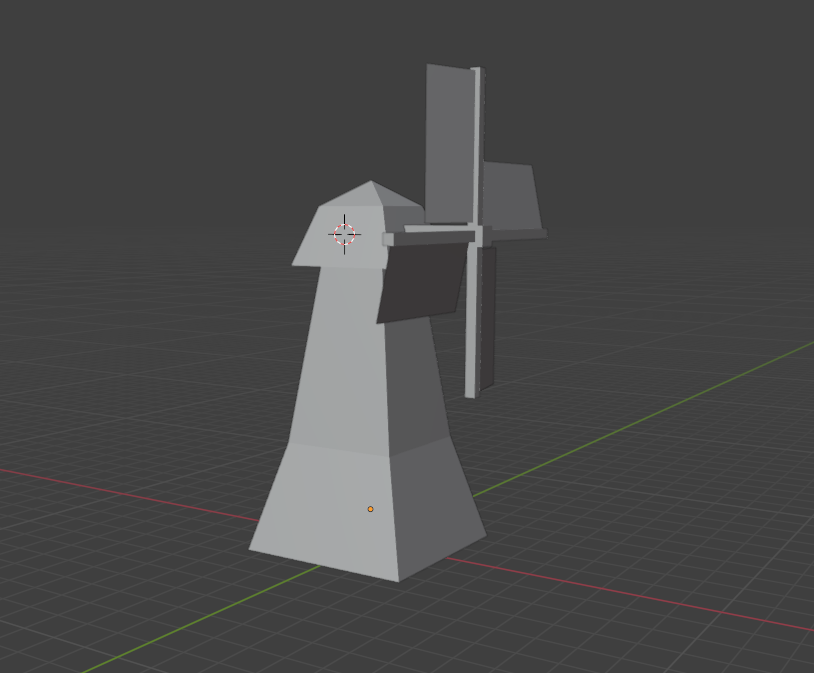
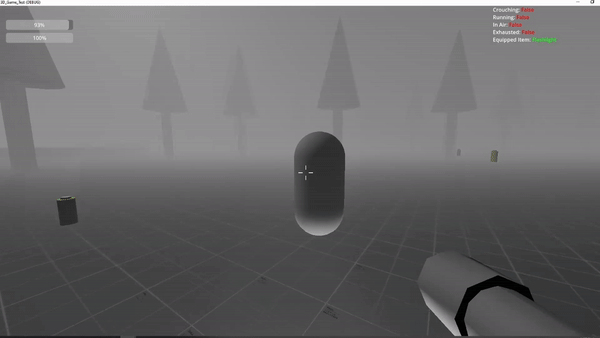
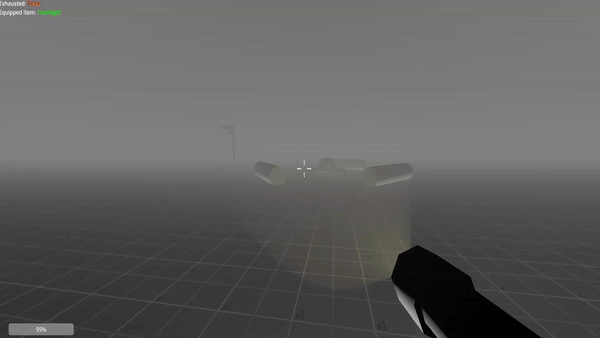
Since my last post, its been quite some time. I was happy with how my Godot test game turned out. The project was intended to test me and force me to learn new skills which it was certainly successful in doing!
After finishing the project, I attended Unreal Fest in Bali 2025. It was an amazing experience, especially having also attended the previous year.
During the Unreal Fest 2024, I was already underway in my Godot project, and realized that I should learn Unreal for future projects. It feels more like an industry standard, and there’s a much larger pool of tutorials and learning materials available, which is incredibly important when you’re still new to game development.
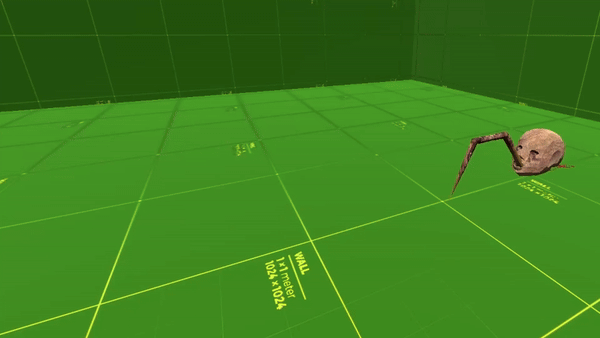
I’ve now started on a new project, this time, with the goal of making it a complete game and selling it in a digital marketplace. The thought of it is daunting and nerve-racking… It seems like a huge task, It’s genuinely scary, and I find that the best way to use this fear is to turn it into excitement, like going to a theme park and going on the rides.
I have some important aspects of this game in my mind and I want to keep them there as pillars throughout the creation of this project.
Simplicity – I want to keep simplicity at the heart of the game. I don’t want to over-complicate systems or scope. I need to be realistic about it because at the end of the day, this is a solo project.
Scalability – I want to create the core systems, then expand on them. I’m doing this so that I can flesh out the game and systems, then add content afterwards. This part is essential since this is a solo project and I am relying on building from scratch rather than use already created blueprints.
Story/ Creativity – I want to make a story in this game, something that can express true feeling, I feel that is the best way to create a memorable and relatable narrative. To do this, I plan to create the gameplay systems first with the intention of dialogue and branching to be added in. I’m aiming to explore different characters with different themes to them that; are close to me, that trouble me, that excite me, that make me happy, that make me sad. I want to do this by adding different characters that embody these thoughts, and again, not be overly ambitious by having to model dozens of NPCs with individual animations and movements. I am still brainstorming ways to do this but still have a way to go before confirming anything .